Apple Notes is my go-to to-do app because it’s fast. It’s instant. It’s synced on all my devices – desktop, iPad and iPhone. I can access an up-to-date version any time. Other similar apps do this. I’ve tried many but speed is the name of the game here and nothing is as fast as Apple Note.
It also offers some cool features such as creating simple checklists that can be sorted manually or automatically.
Here’s how to create checklists on Apple Notes.
Mobile Method
There are a couple of ways to go about creating a checklist on mobile in Apple Notes.
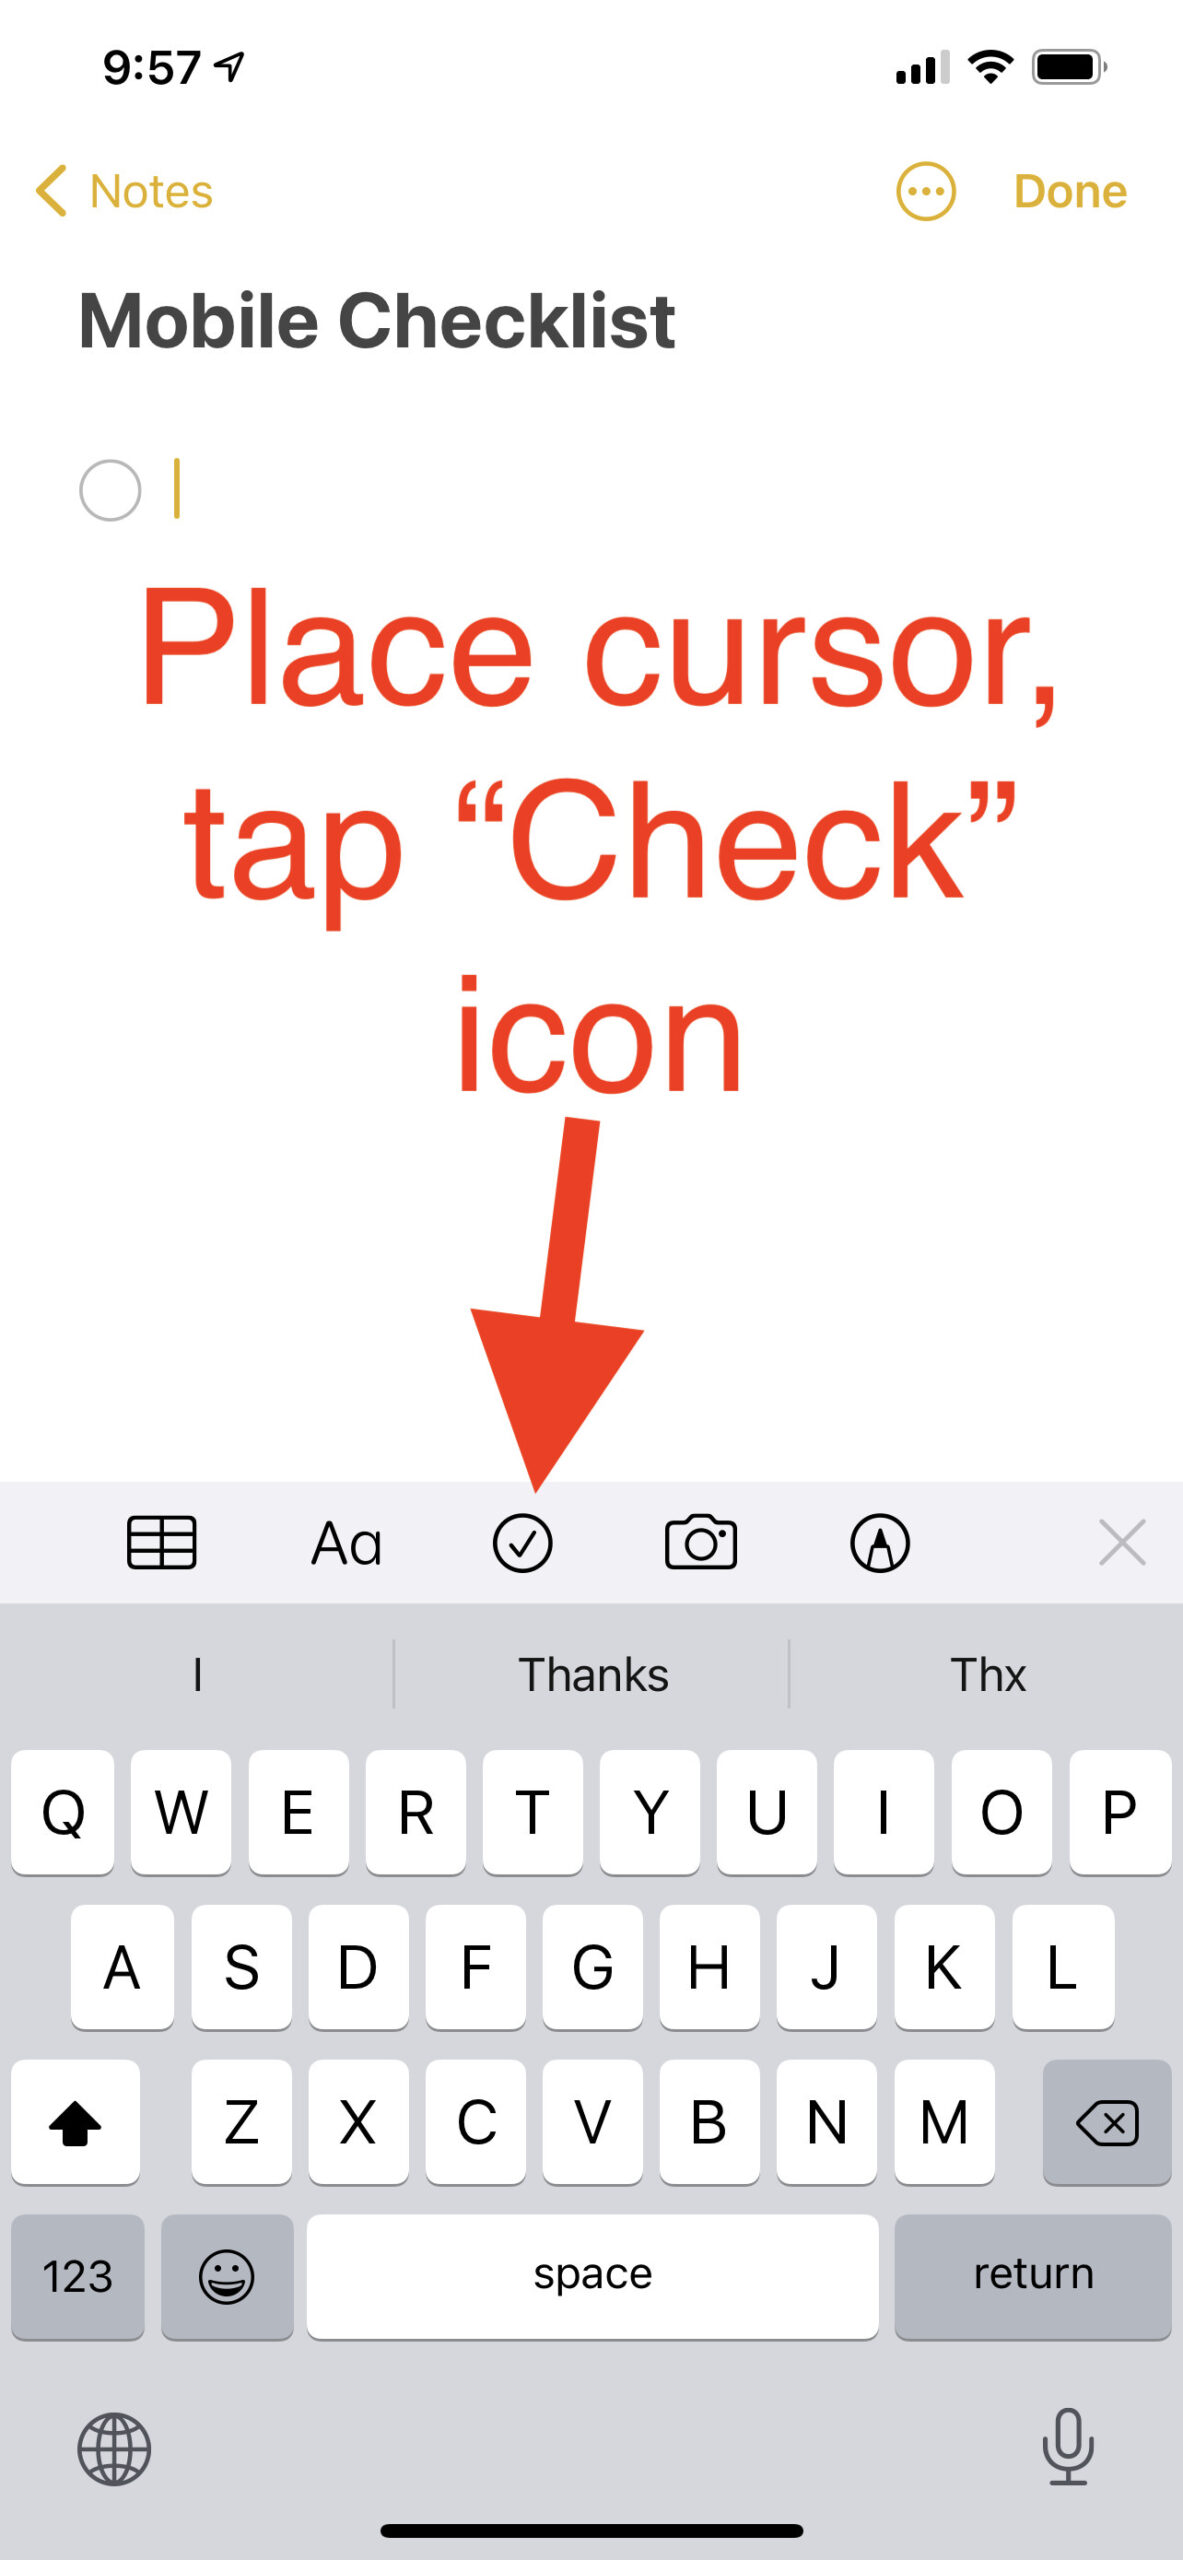
1. Blank note method
Place cursor in note, tap the “checkmark” icon at bottom.
You can then start typing your list items. Return to add items.
2. Create a checklist from an existing list on mobile
Highlight list and tap the “Checklist” icon
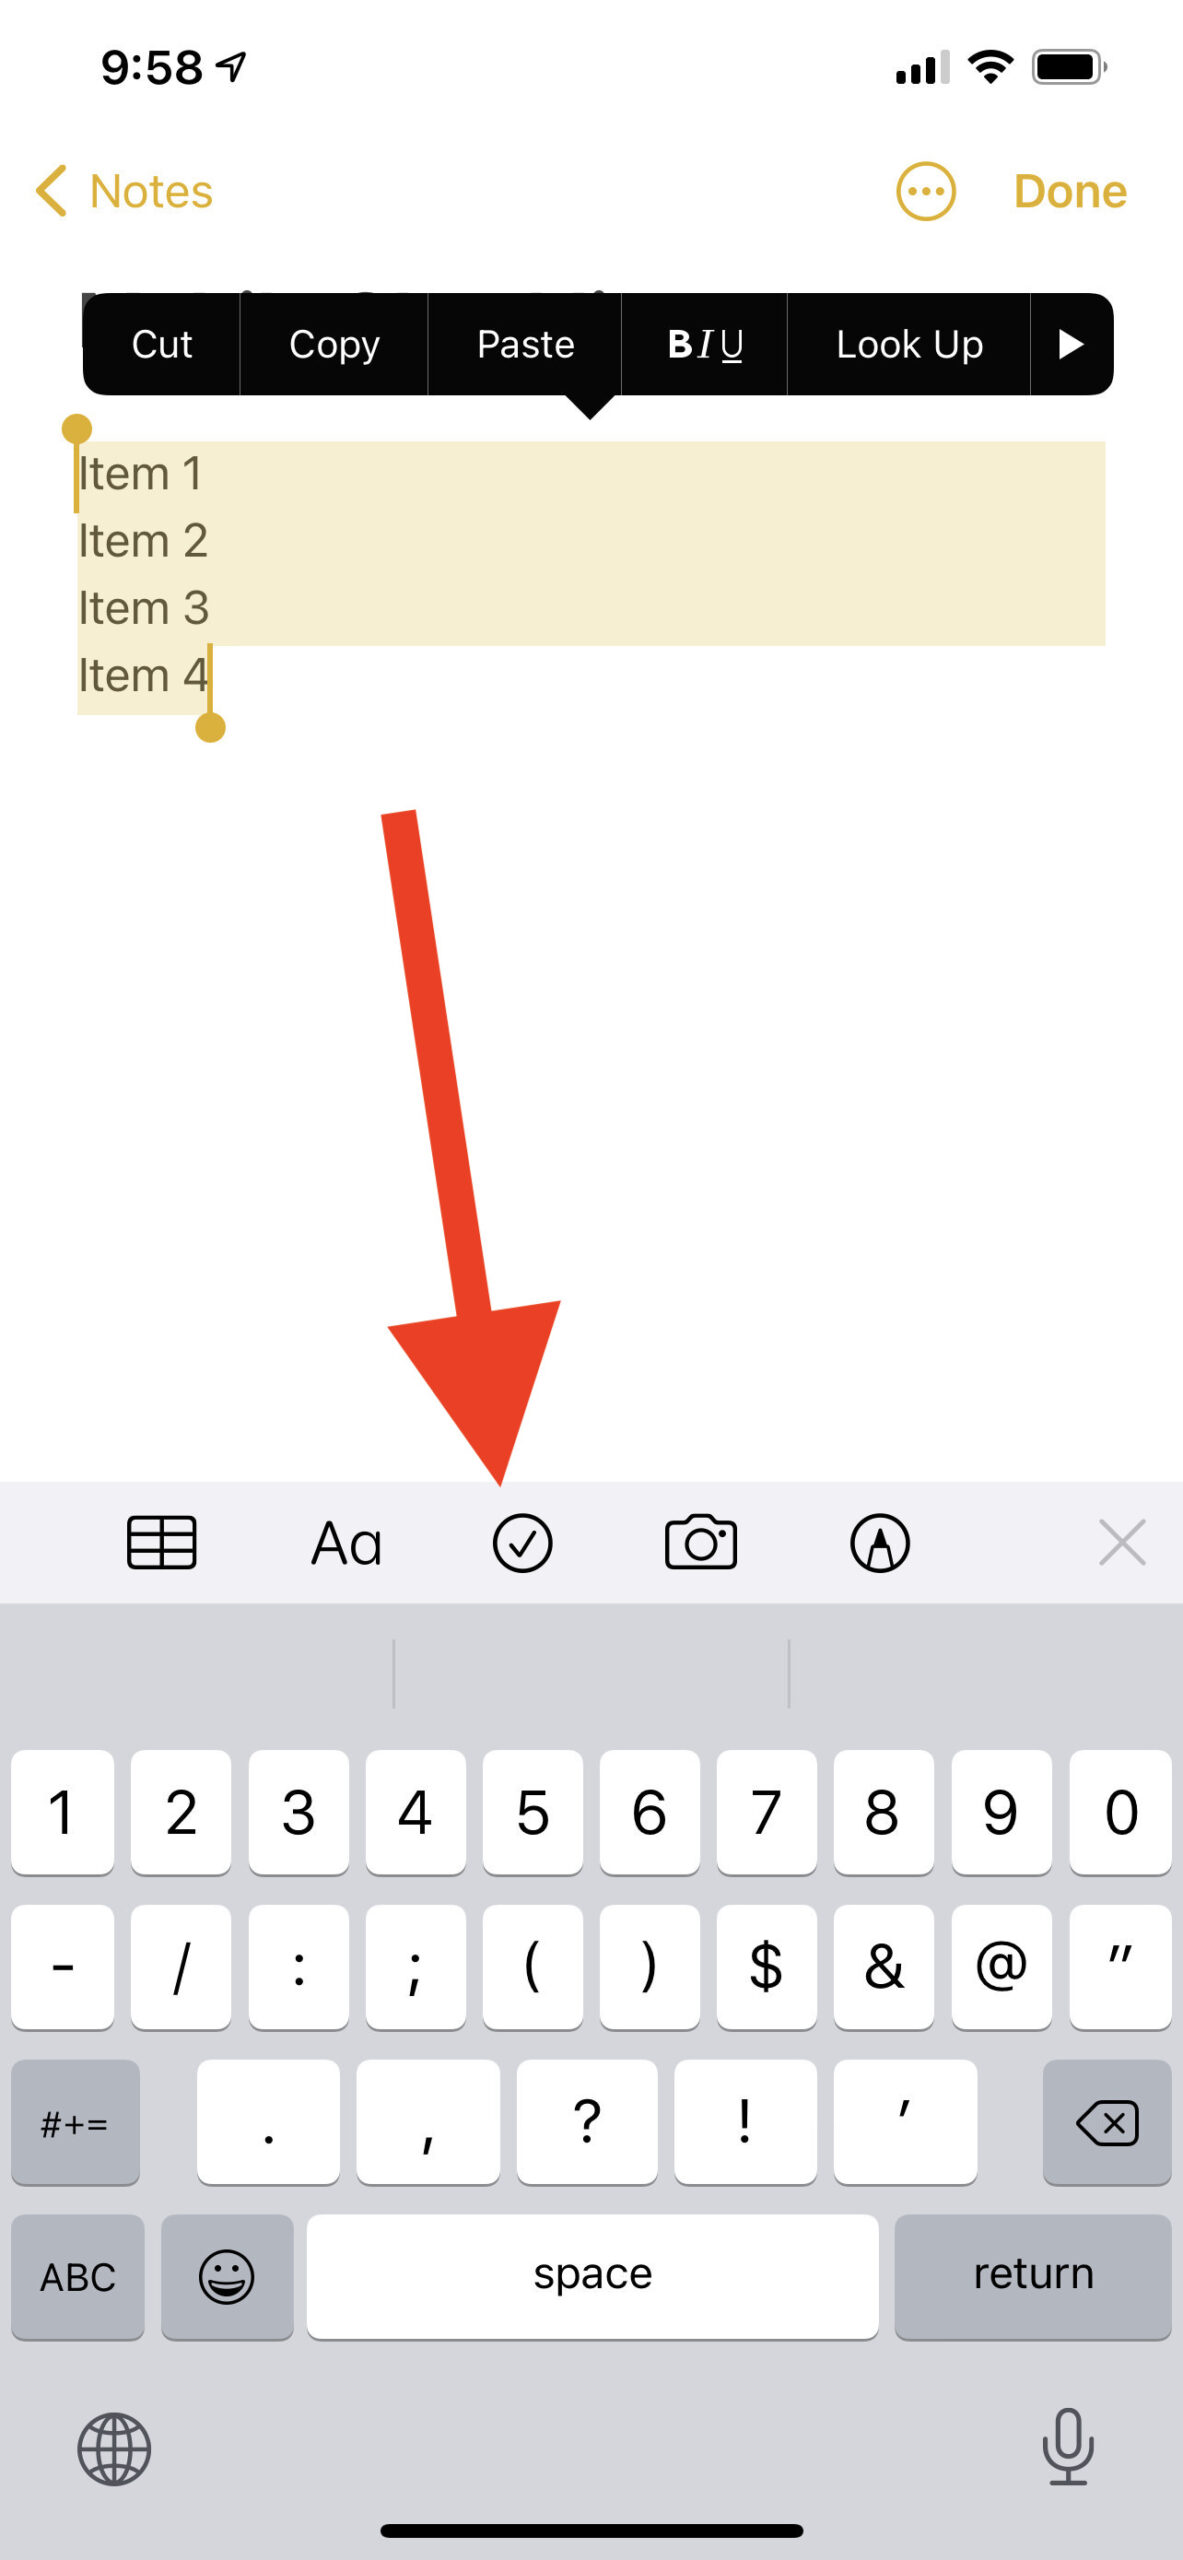
Voila… you’ve converted a list into a checklist:
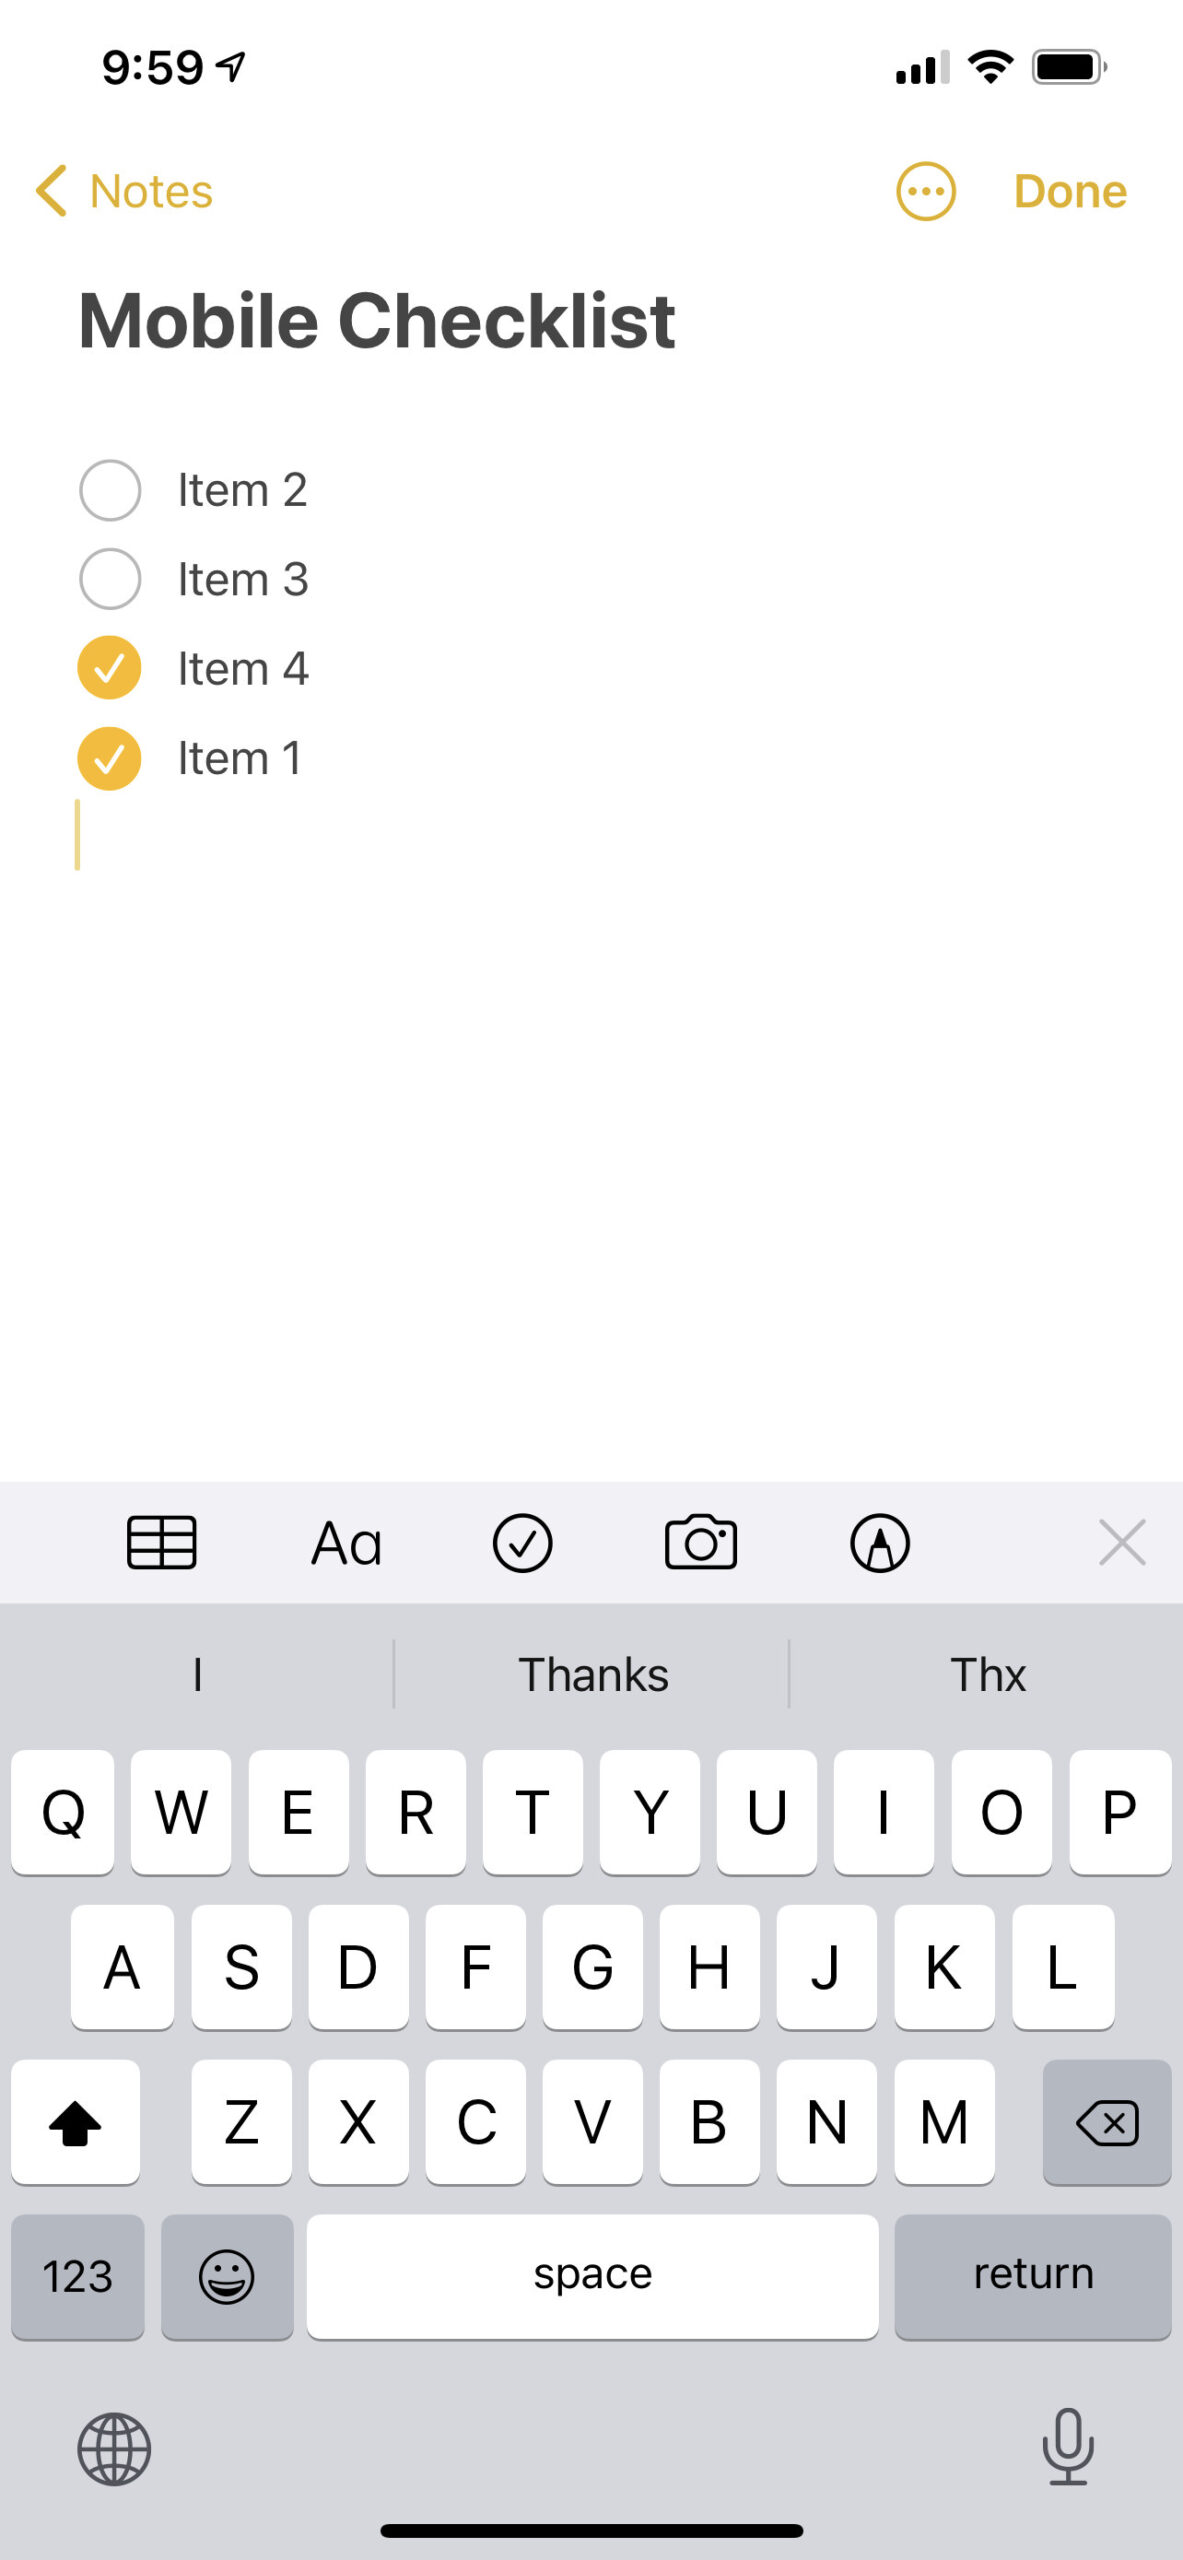
How to automatically have checked items moved to the bottom of the list
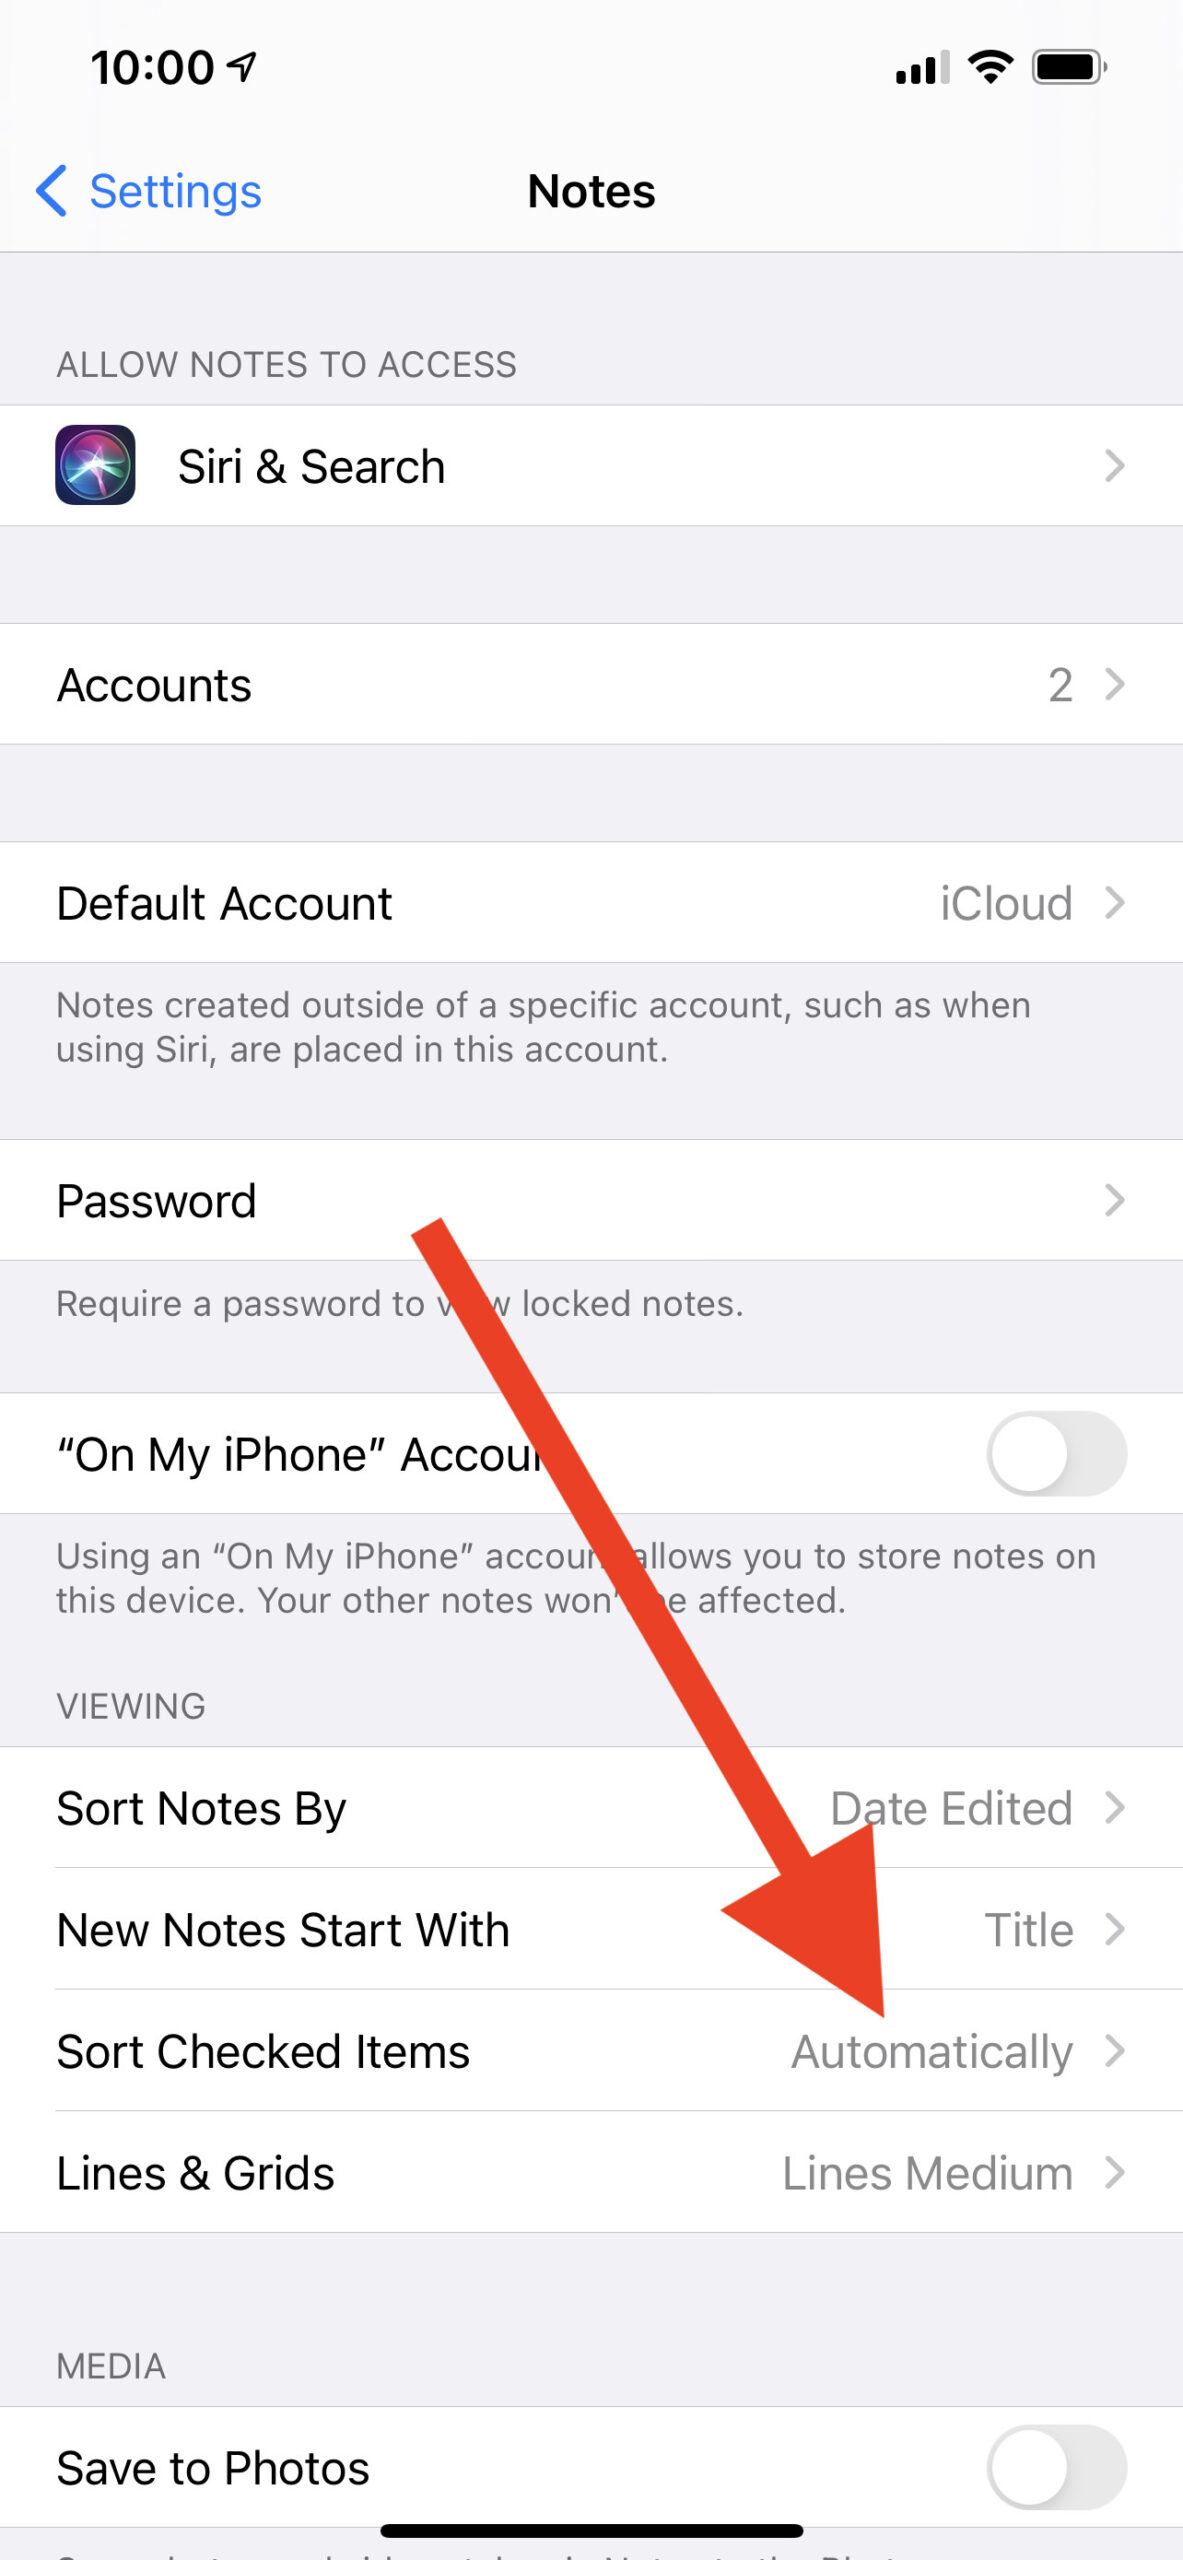
In order to do this on mobile, you must adjust the Apple Notes app in settings.
Go to Settings and tap into Apple Notes. Then tap into “Sort Checked Items” as follows.
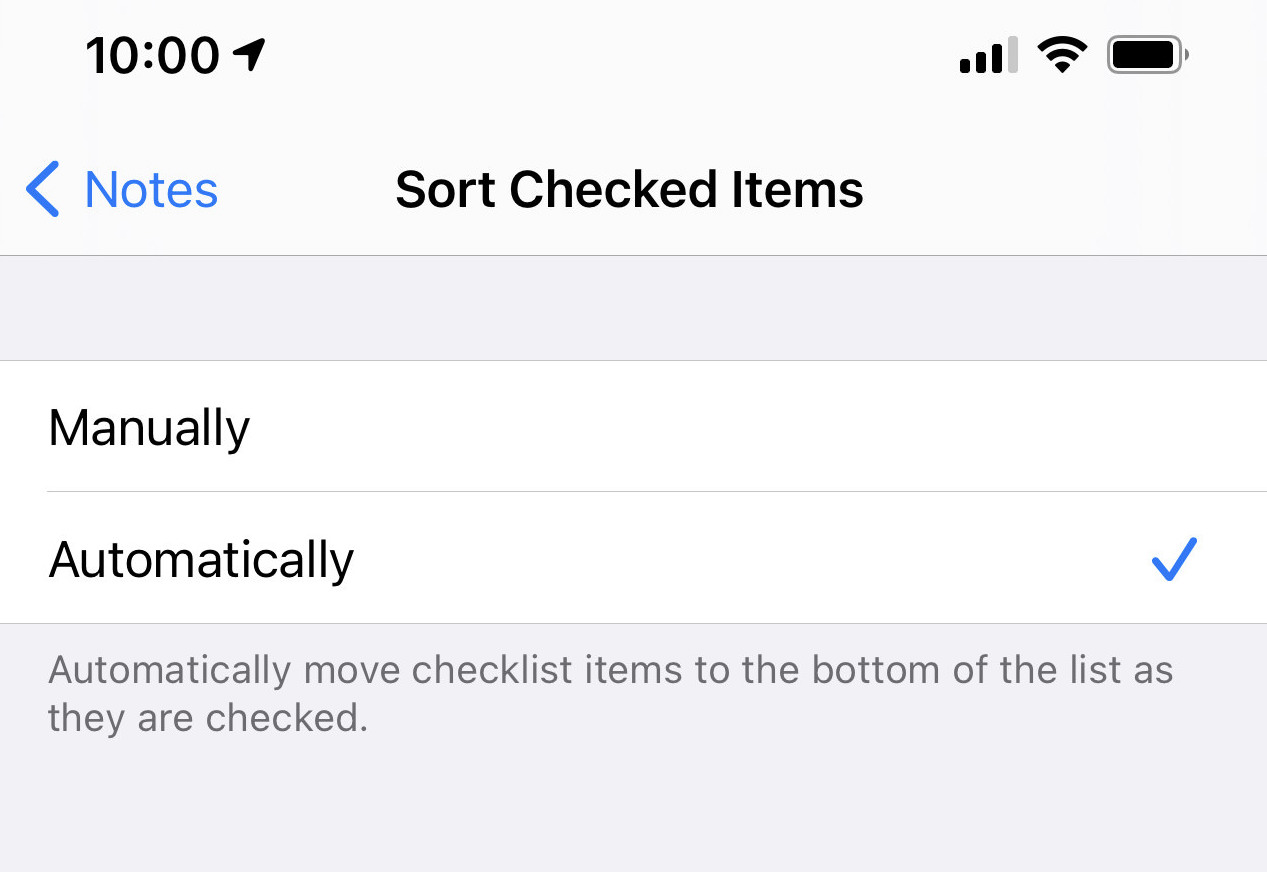
Then tap “Automatically as follows. Now whenever you check an item in your checklist, it will move to the bottom of the list.
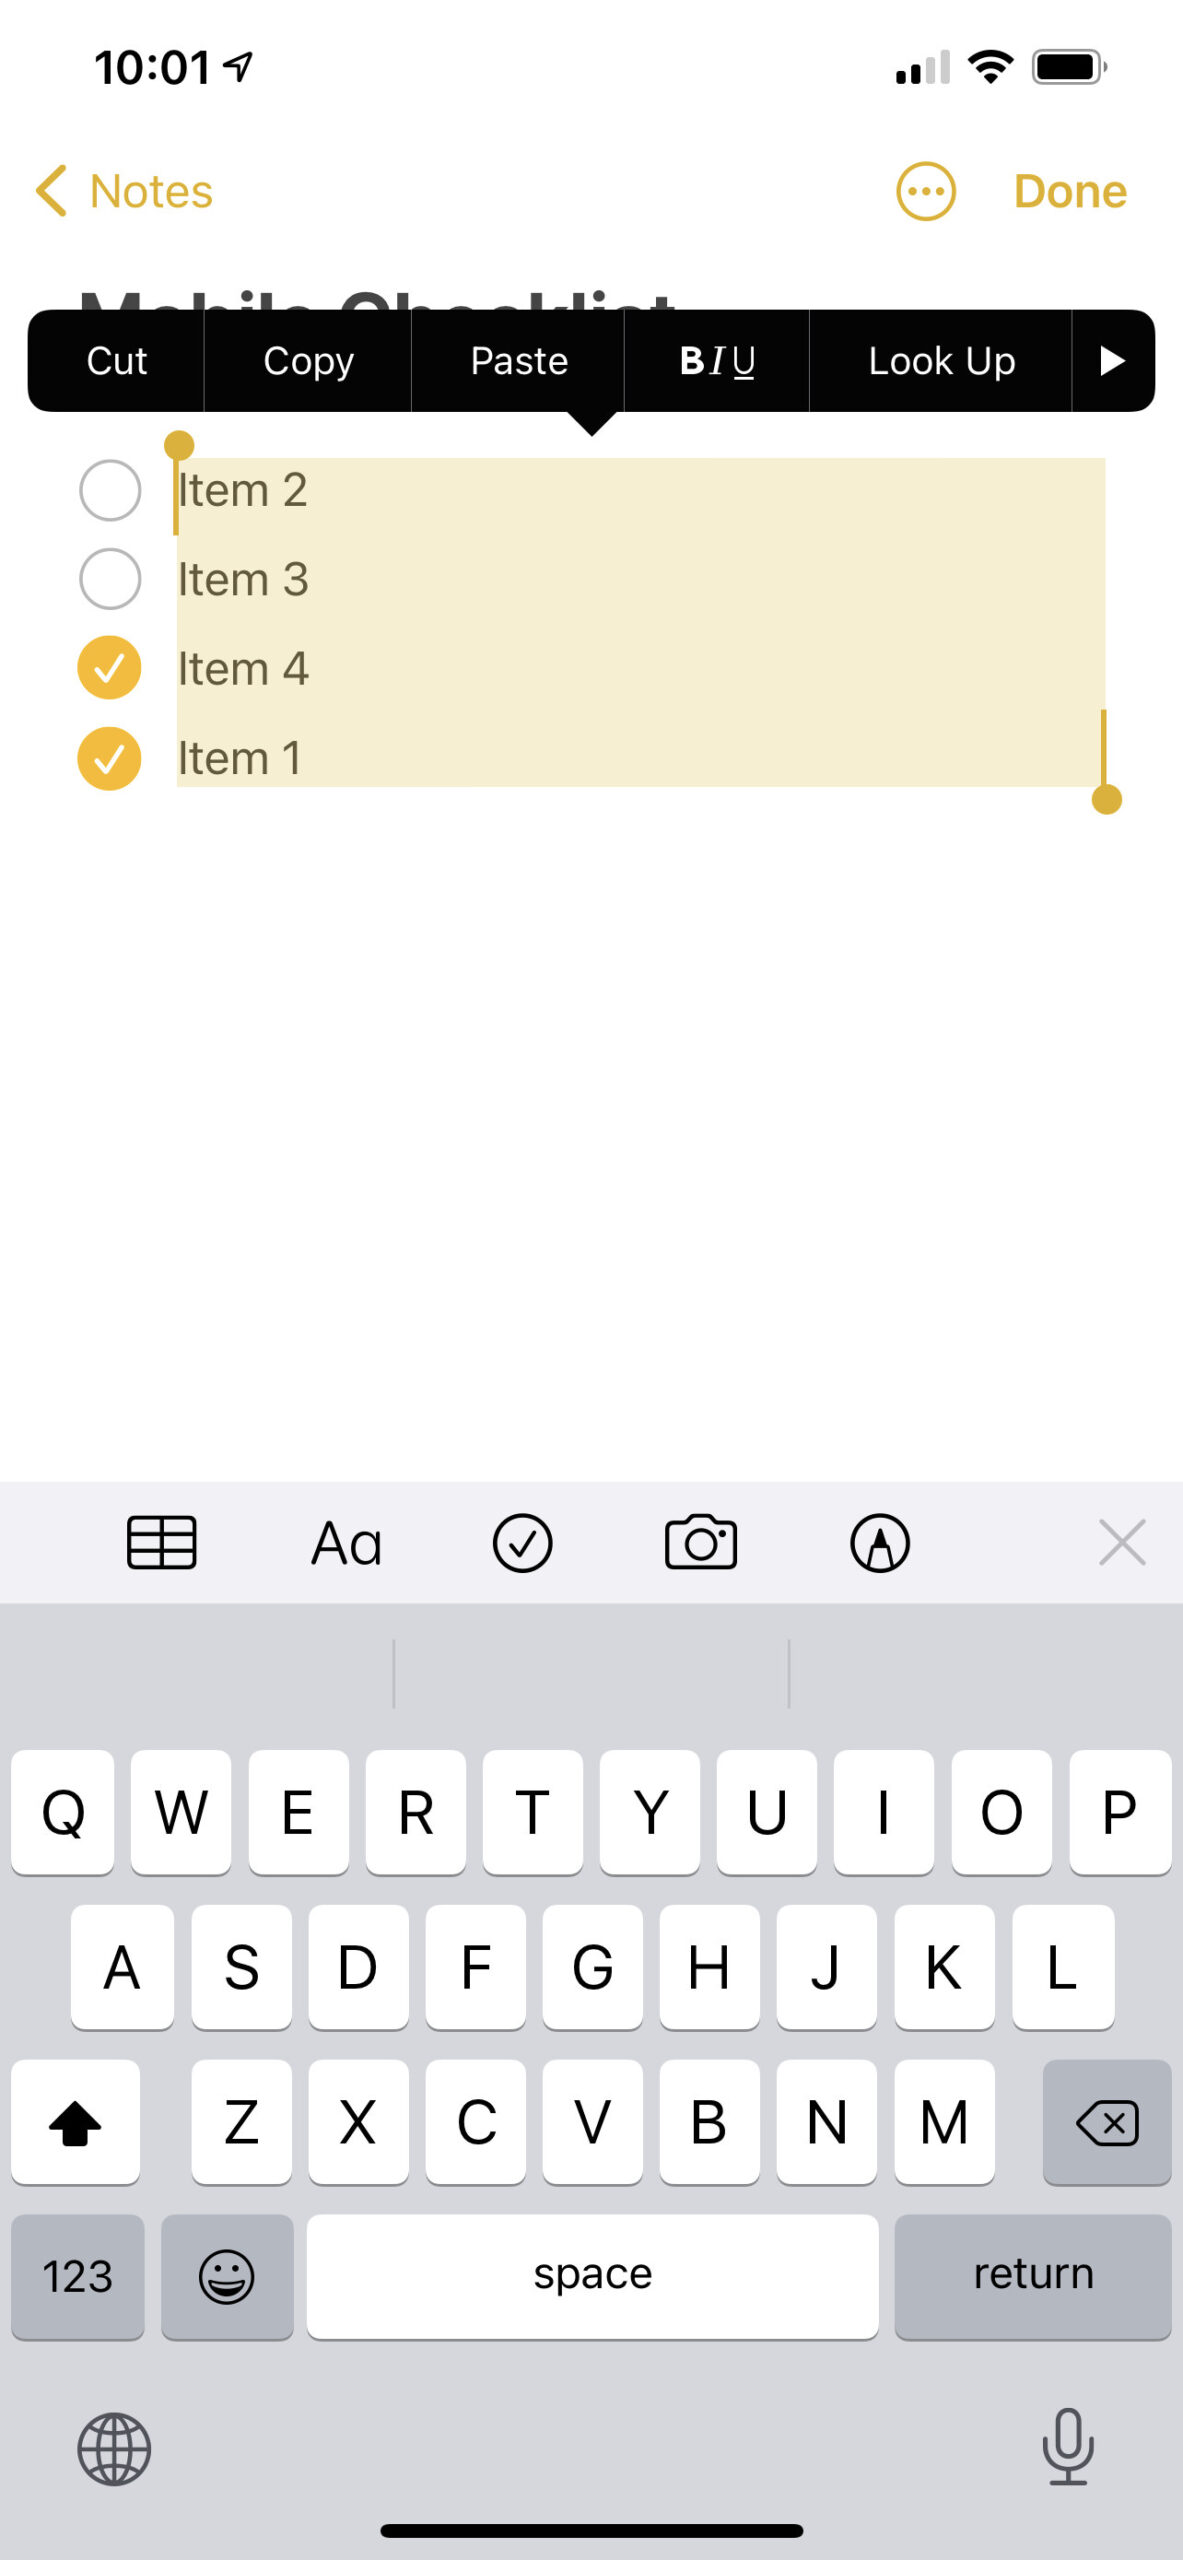
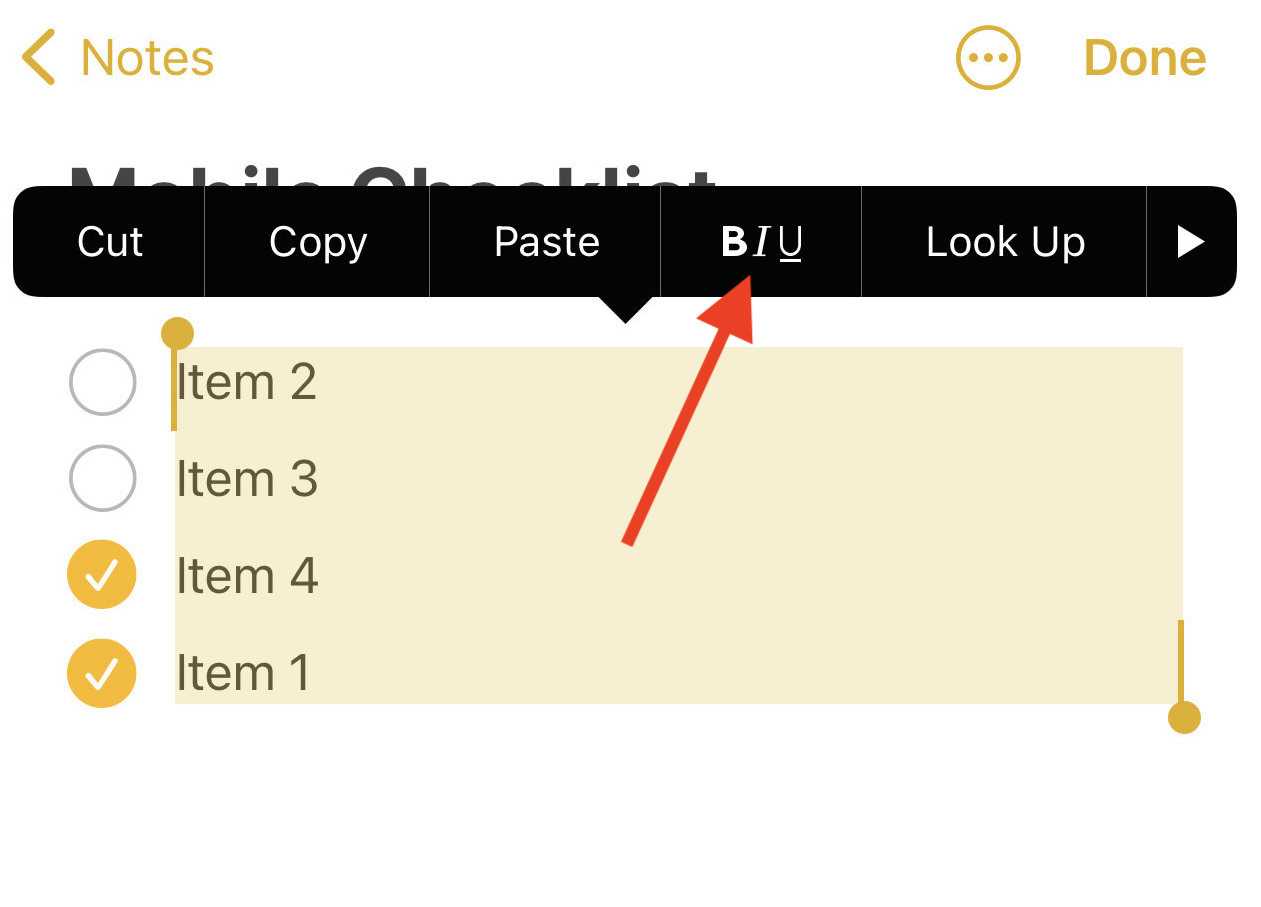
How to format text in checklists on mobile
Highlight the text to format and tap the formatting option as follows.
Desktop Methods
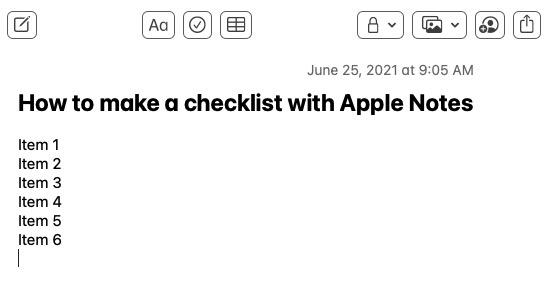
1. Type out your list
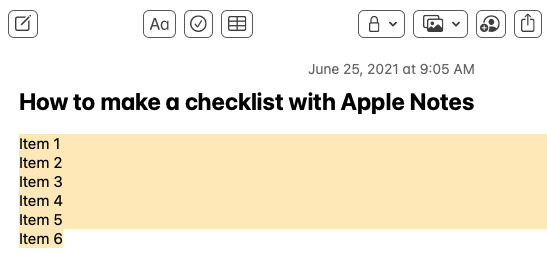
2. Highlight your list
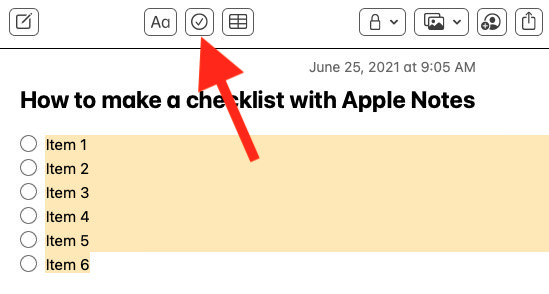
3. Click the “Checkmark” Icon
Alternatively…
You can start a blank document in checklist format right from the get-go as follows:
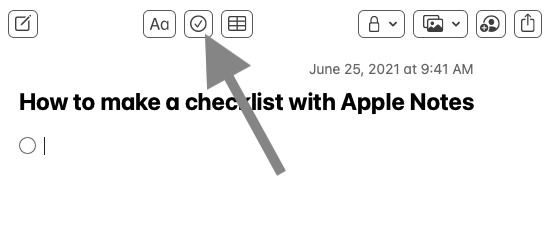
From there you can type out each list item. Click “return” to add a new item.
How to automatically have checked items moved to the bottom of the list
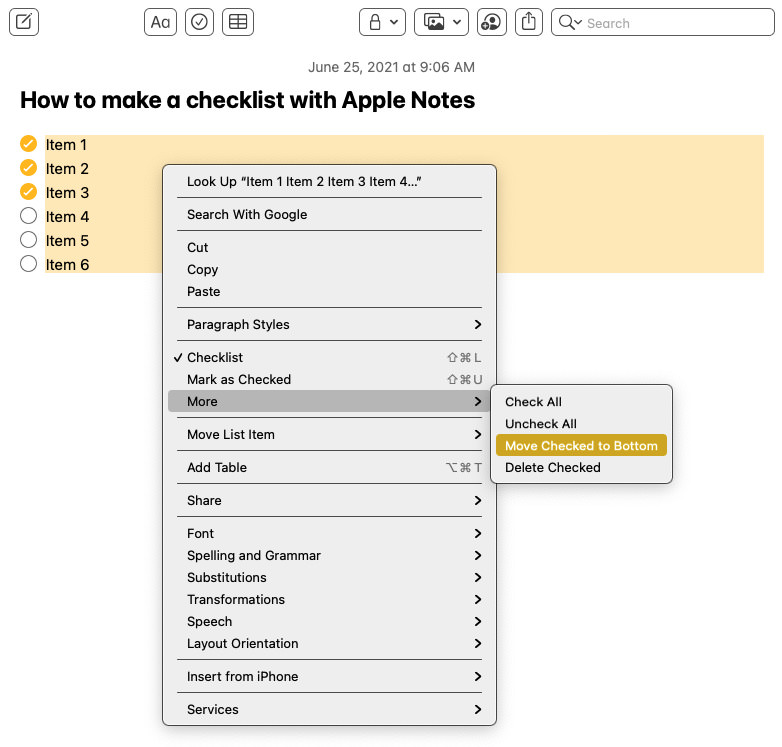
Highlight your entire checklist, right-click, then click “More” => Move Checked to Bottom.
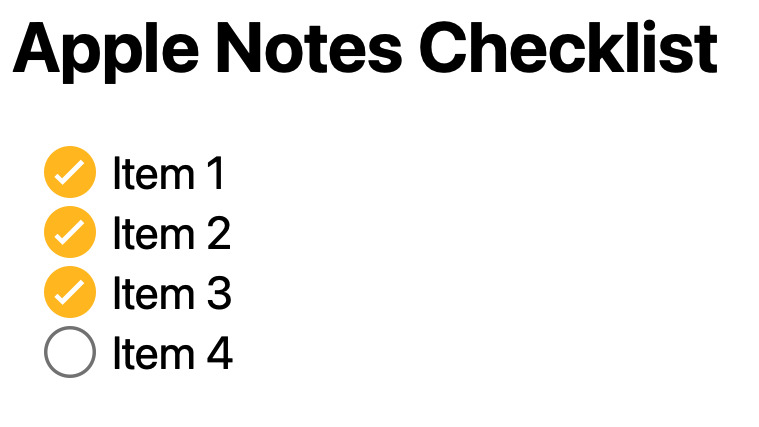
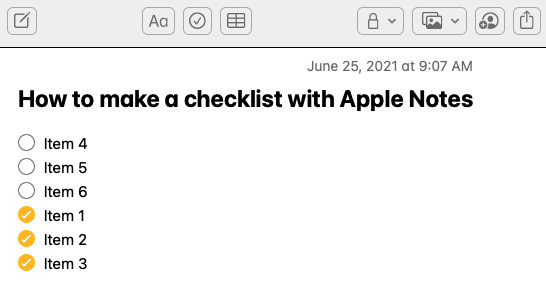
Once done, checked items are moved to the bottom of the list.
How to move checklist items up or down
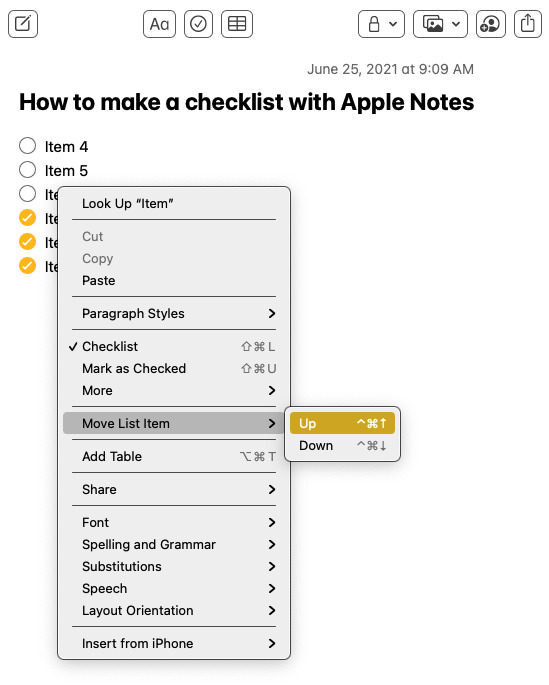
Highlight the list item(s) you wish to move, right-click, select “Move List Item”, then “Up” or “Down”.
How to change/format the font in a checklist
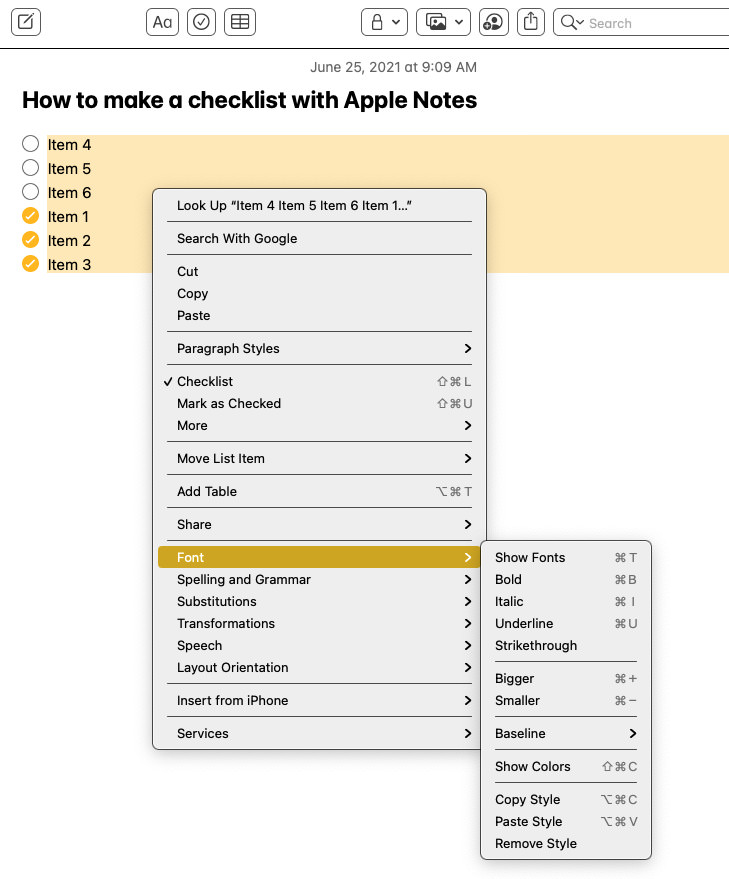
Once again highlight text you wish to format, right-click, select “Font” and make your changes.
How to convert a checklist into a table
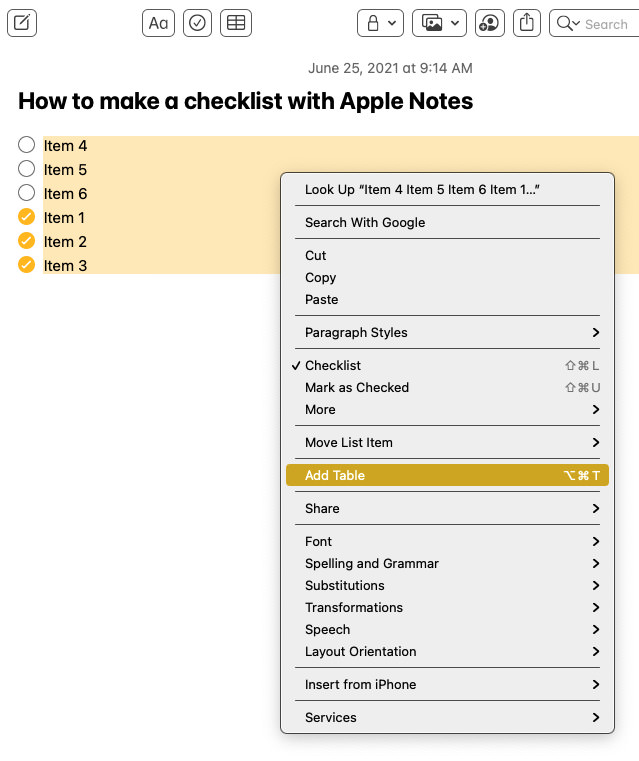
Highlight items in the list to convert into a table, right-click, select “Add Table”.
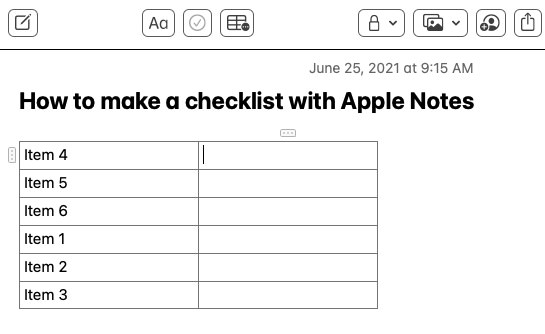
Your list will convert into a table as follows:
